
January 14, 2019
Growing an Indoor Garden
This post is part of our Wellness & Nature series, featuring simple and inexpensive ideas to support physical and social-emotional health through nature-based activities.
In this article, part of our on-going Wellness & Nature series, I will show you how to start an indoor edible garden and share a simple and inexpensive activity for your classroom, out-of-school time program, or family to try while your garden begins to grow.
As a reference, I’ll be using the National Recreation and Park Association’s Home Gardening Tool-kit – part of our Commit to Health collaboration.
Why Gardening?
Non-traditional learning environments, like gardens, are perfect settings to foster social-emotional development while introducing children to healthy eating habits. Research shows that gardening can help children build protective factors, like resilience, and help foster supportive relationships. Indoor edible gardens create playful learning opportunities and offer children the chance to set digital devices aside and feel the accomplishment of growing something new.
3 Steps to Start an Indoor Edible Garden
1. Gather Materials
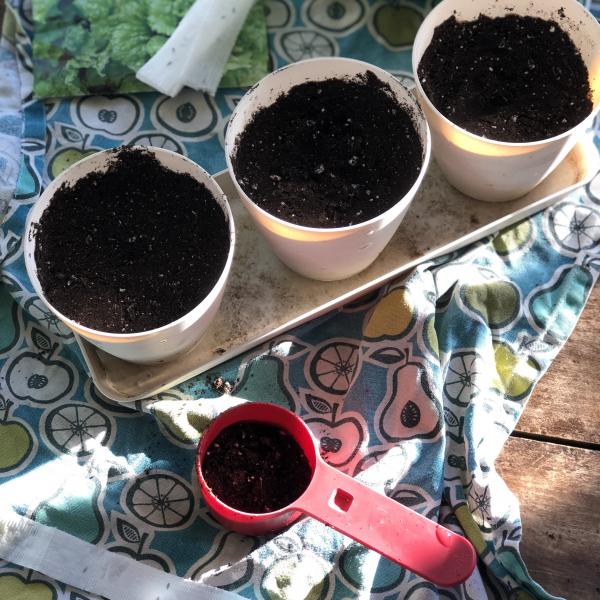
To start an indoor edible garden, you’ll need potting soil, seeds, and a container. To save money, I’m mostly using supplies I have on hand for part of my indoor garden. A quick rinse, a little glue or paint and those old planters are good as new. (Don’t forget holes for the water drainage!) I labeled my pots with tape, but you could get creative and turn this step into a snowy day art project.
Since the garden is indoors, it’s important to have something to catch any excess water, like a plate or tray. Don’t forget to place your garden in a warm sunny spot.
Depending on how much space you have, you can try different size pots. I have a small plastic set of three pots – perfect for a small space or kitchen table.
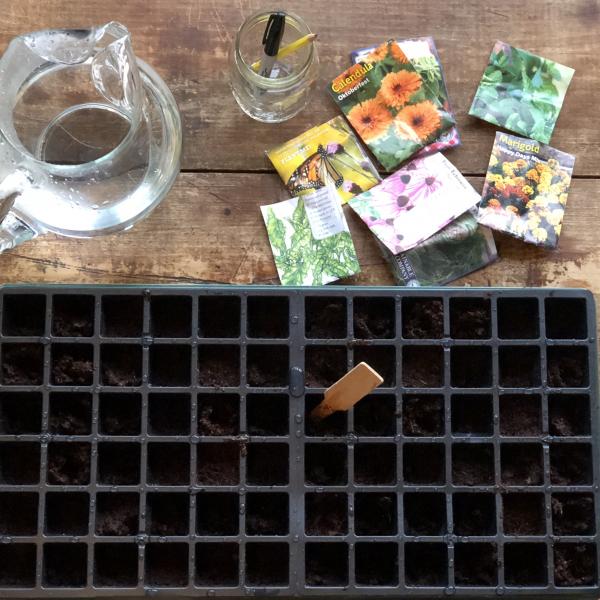
For the second part of my indoor garden, I’m using a seed starter kit. It was $20 and I bought it online. I found it very easy to set up – you just soak the soil and plant your seeds. It comes with a plastic lid that provides a greenhouse effect. The best part is the seed chart to help you keep track of what you plant.
2. Decide What to Plant
As I mentioned earlier, I wanted to save money, so my decision of what to plant was made by what seeds I had on hand. I primarily focused on easy-to-grow herbs that show up in lots of recipes like, oregano and dill.

I also planted lettuce and sorrel, a leafy green with a lemony flavor, and some flowers that I hope to dry and use for tea.
I did all my planting indoors using a paper bag to keep the space tidy, a small bag of soil and a pencil to make spaces for the seeds.
3. Keep Track of Progress
It will take several days and weeks for the indoor garden to sprout, depending on what you plant. Keeping a garden journal will help you consistently water each pot and is a fun way to unplug, although I find it hard not to snap regular progress pictures for Twitter.
If you’ve visited our Smarter Sleep Resource Center, you know Healthier Generation is a fan of wind down activities. For my wind down activity, I’m using a small notebook to record how my indoor garden is growing each evening.
While You Wait…
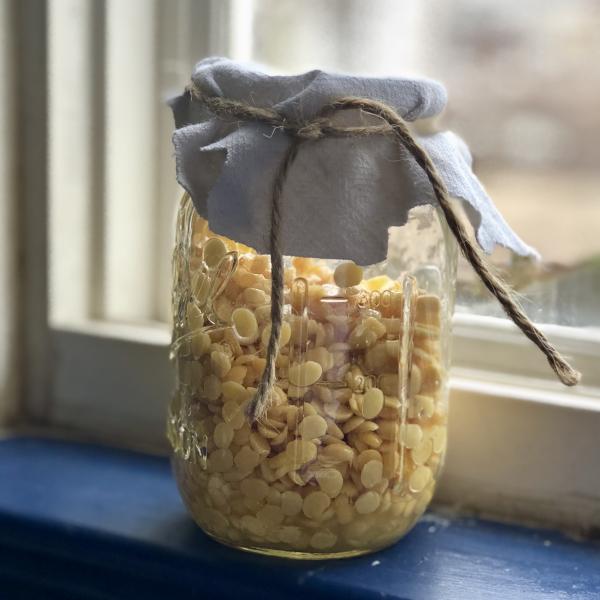
For a nature activity with a shorter timeline, I’m also growing lentil sprouts – a great addition to many of the recipes in our Smart Food Planner, like Porcupine Sliders.
The supply list is simple: a glass jar, cheese cloth or flour sack, string and ¼ cup of lentils. I followed the instructions in the January Foods of the Month printable (page 12). Sprouts should appear in 4 to 5 days and your garden journal is a great place to monitor growth.
Are you ready to join the fun?
Start your own indoor garden and share your progress by tweeting us at @HealthierGen. Check back throughout the year for garden updates and even more nature activities to inspire wellness.